Spotify Music Converter Support Center!
Manage Conversion History
Updated on November 11, 2021
Spotify Music Converter offers concise interface to help users better manage conversion history. See full steps in below.
Manage Converting Spotify Music
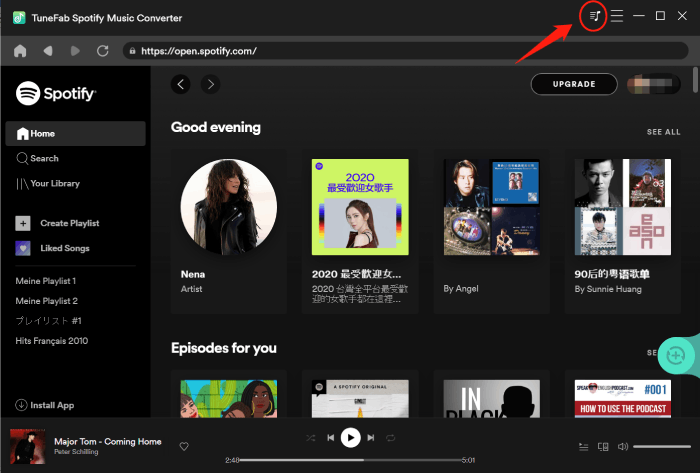
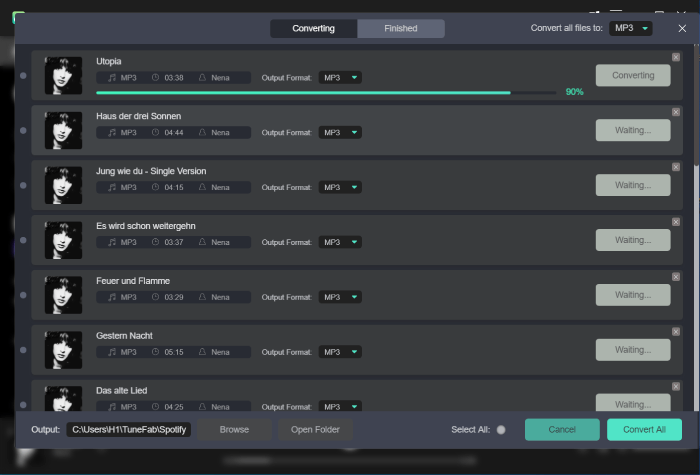
Step 1. On the main interface, click on the musical notation icon on the top and switch to Converting window.

Step 2. If you mistakenly added a playlist that you don’t want to convert, just light up the grey circle beside “Select All” and click “Cancel” to cancel the whole list. Or you can manually click the delete icon of each Spotify music to cancel the converting process.

Manage Converted Spotify Music
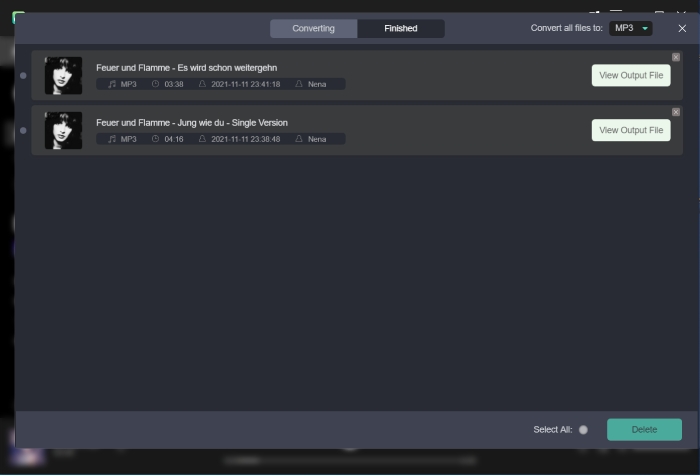
Step 1. The same as the step 1 above, click on the musical notation icon on the top and switch to Finished window.

Step 2. Here you can see all the converted Spotify music. Just click on “View Output File” to delete, edit or change the location of the converted songs. Besides, another way to delete converted history is the same as the method above. Click the grey circle beside “Select All” to remove them or click the delete icon of each song.

Get in Touch
Can't find the answer to your question? Our technical experts are here to help.
Company
Support
© Copyright convert-sp-music.com. All rights reserved
